aka. Distro
There are still a few distros out there which support ARM32
Archlinux
Fedora
Lubuntu 16.04
... (append it pls)
Downloads for older and probably dated builds can be found here: https://berryboot.alexgoldcheidt.com/images/
To make use of hardware acceleration we need to use grate-driver Following distros support grate-driver out of box:
Archlinux
PostmarketOS
Linux comes in all different flavors just like ice cream, you can choose whatever fits you. For ease anything Debian based is recommended, advanced users can look for Arch or Fedora. Difference is how commands work but deep down everything is nearly same.
There are two ways of booting Linux, APX payload or EFI boot, this time let's focus on EFI.
Prepare SD card with any Distro of your choice You can use Balena etcher, Rufus, Raspberry imager etc. Doesn't matter which one
Prepare a FAT32 formatted USB drive with EFI and kernel files, they are linked below, extract to root directory
Put the SD card in your Surface
Turn off tablet, complete shutdown and not sleep mode
Plug in the USB drive you prepared
Turn on by holding volume down key, release it when the logo appears
Let it boot. If it does it will go past the kernel log and load a distro of your choice. It should be safe to unplug the USB once Distro has loaded up. (The distro could have mounted the USB, so be careful with that)
postmarketOS for Surface RT
https://wiki.postmarketos.org/wiki/Microsoft_Surface_RT_(microsoft-surface-rt)
Currently there are no prebuilt images available. Please build your own image using pmbootstrap.
The Root Filesystem contains all the necessary binaries your system needs to boot
After building a kernel you need a userspace which contains all the binaries you want in your system. Like echo, cat, ls, candy crush (o.O looking at you MS)
There are two ways to get these binaries Option 1: Build your own root filesystem with Buildroot or similar tools Option 2: Get a premade root filesystem (distro)
RootFileSystem for Surface RT
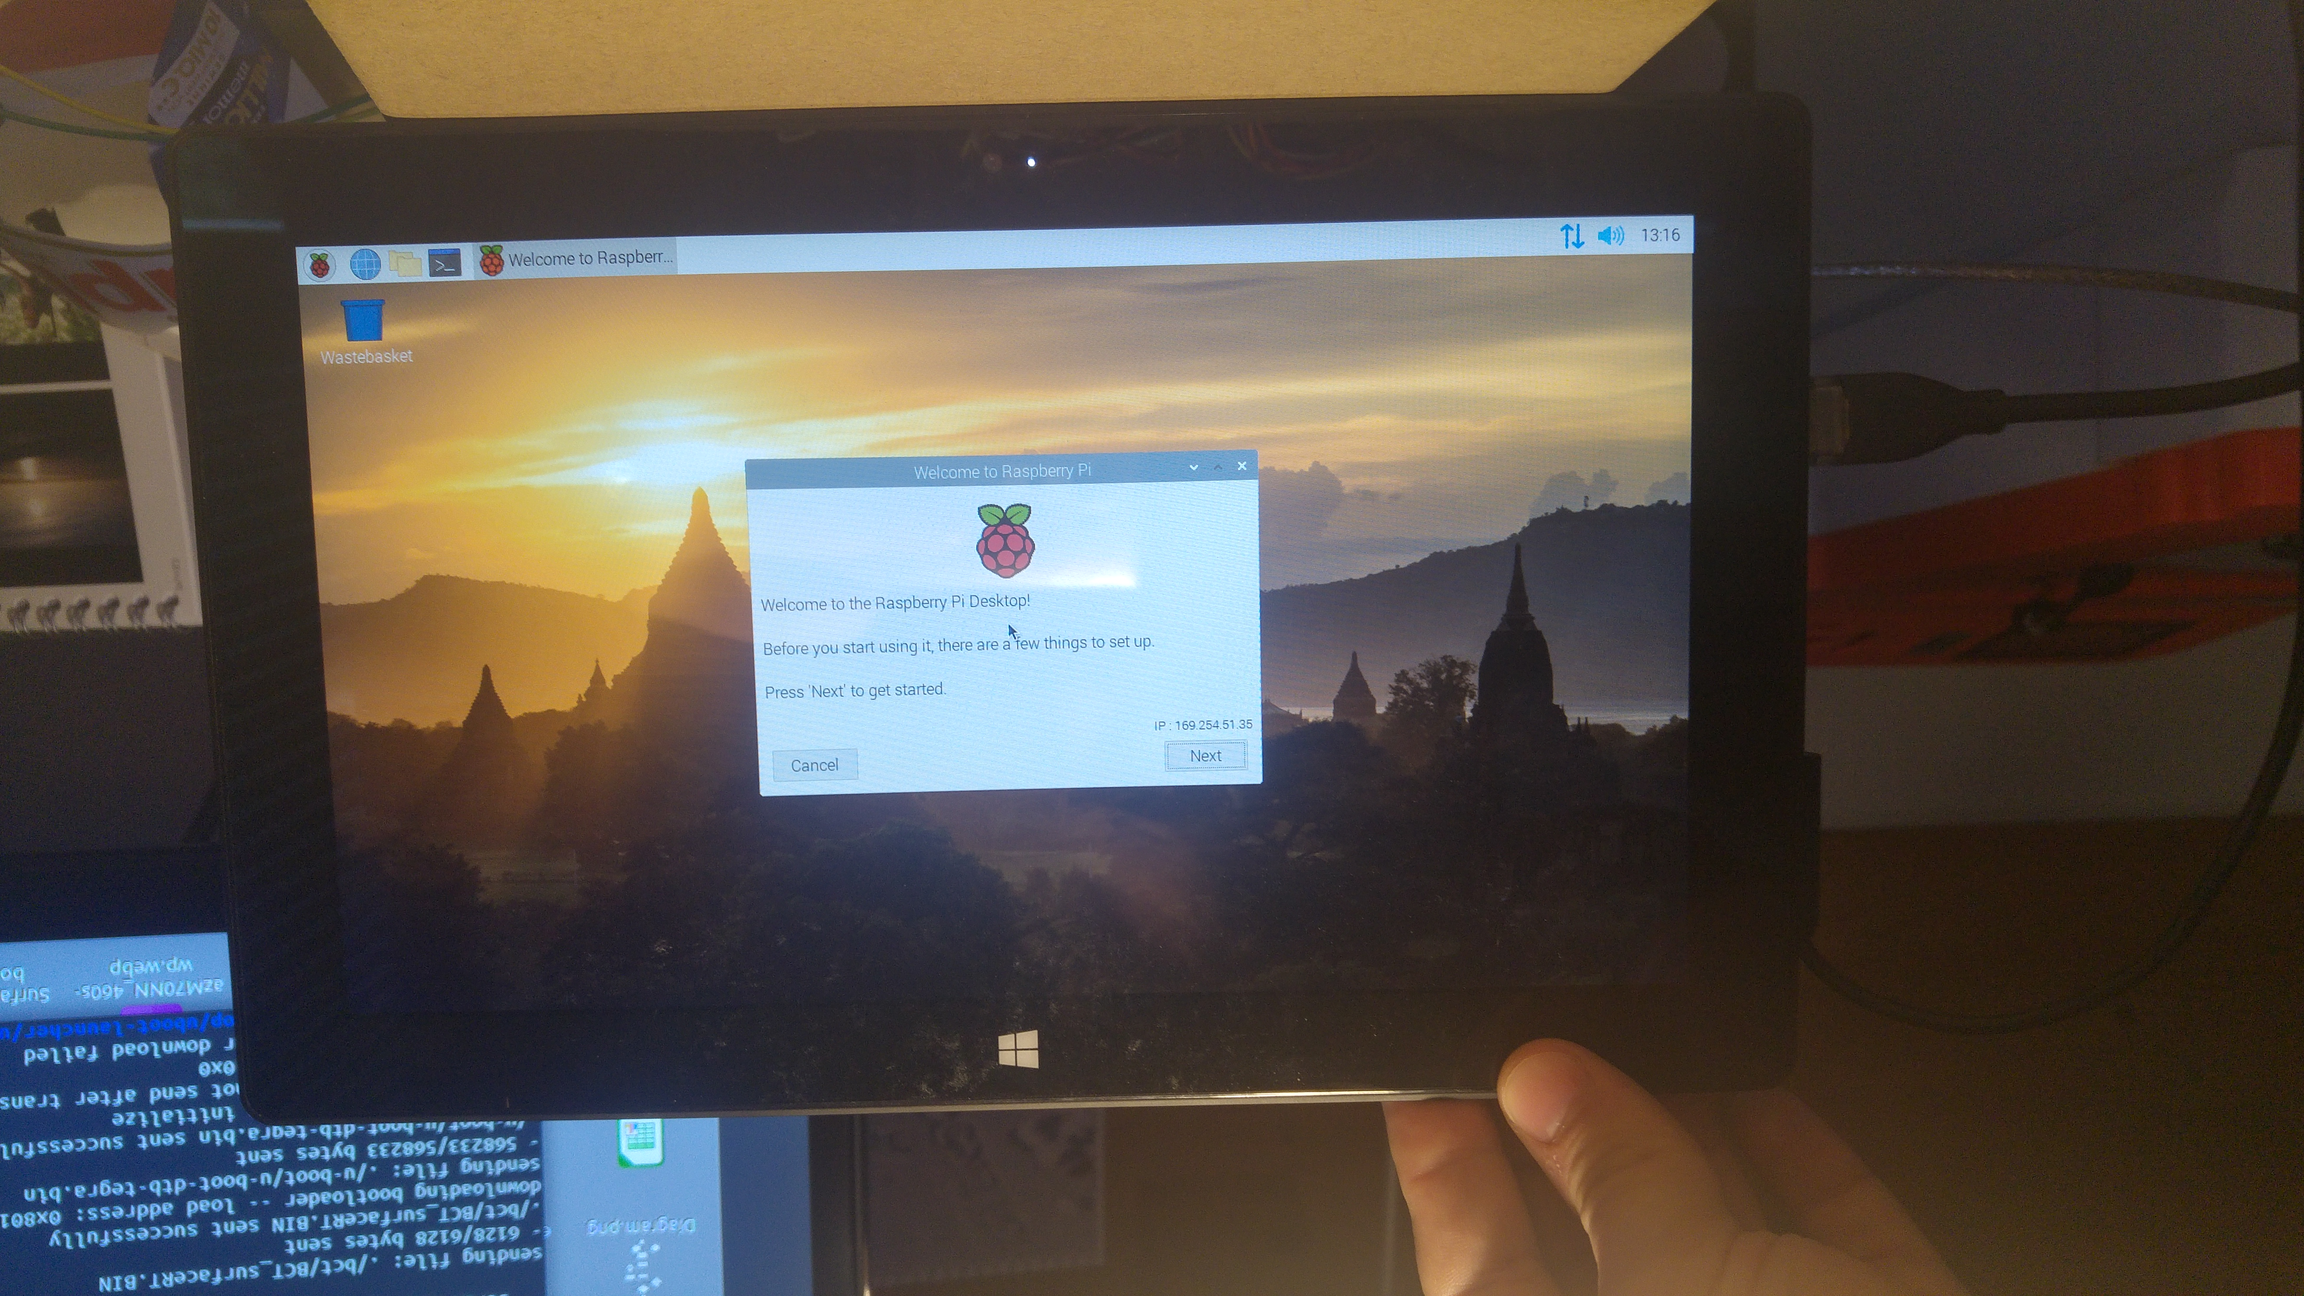
Install Raspberry Pi OS on your Surface RT
Make sure that Secure boot is disabled before you try to boot Linux.
Installing Raspberry Pi OS is very easy in comparison to some other distros.
It can be done on a Windows or Linux host and therefore is easily accessible for everyone.
Place the efi folder, startup.nsh, zImage, and tegra30-microsoft-surface-rt-efi.dtb files onto the "boot"/fat32 partition of the USB drive. Confirming any overwrites.
If you are using Linux you can do this before booting RaspiOS for the first time on your host machine.
If you are using Windows you need to boot RaspiOS on Surface RT and copy the modules on from e.g another Fat32 USB to the root filesystem. You need to reboot once to load the modules correctly.
You need to install RaspiOS on USB first
It is only recommended to install it on eMMC if you really want to use it on eMMC. Otherwise you will wear out your eMMC unnecessarily.
Taken from Discord user Misterobots:
Once Raspberry Pi OS has booted from USB.
Go to Start menu -> Accessories -> SD Card Copier.
Select the USB drive as the "From".
Select the eMMC (mine was MBG4GA) as the "To".
Check the box that says "New Partition UUIDs". Click Start
Edit the startup.nsh (on the eMMC boot partition, that was just copied to) and change the root=/dev/sda2 to root=/dev/mmcblk0p2. Then save.
Once the Copy has finished (with no errors), shutdown the Surface RT, remove the USB drive, then power on the Surface RT normally. (do not hold Vol. down)
This should get you booted from eMMC with both boot and rootfs on the eMMC.
If you want to install Raspi OS on eMMC do the steps below after booting from eMMC.
There is only one thing to do after you can see the desktop.
Open the Terminal and enter sudo raspi-config
Choose Advanced Options
Choose Expand Filesystem
Now your SD Card / eMMC is writable and can use all of its space.
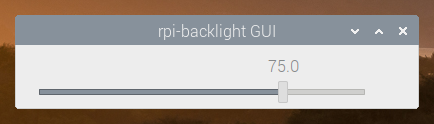
The default plugin always shows 0% charge left. Use the "Battery Monitor" plugin instead. It should be already installed
Unlike KDE, GNOME, MATE or XFCE, Raspberry Pi OS running LXDE does not seem to have any plugin to control the brightness. However, it is supported in the kernel level.
Create the following udev rule so that this tool can be run without `sudo`.
Reboot.
Now you can run the software with rpi-backlight-gui. You can also create a desktop shortcut. Create the file `~/.local/share/applications/rpi-backlight.desktop` with the following contents.
Download Buildroot from
unpack it
open directory in terminal
type: make menuconfig
-> Target options
-> configure for ARM. (see picture)
Use this
Grab all the "standard files" from - (, , ).
Use (sudo apt install rpi-imager) to image a USB drive as you normally would.
Edit the startup.nsh file on the USB drive to show as below. For further information about can be found here
Download the modules and firmware - - and place them in the root directory /. This is important. Without modules some features like Wifand i or CPU Temperature Sensor won't work.
Insert the USB Drive into the Surface RT and
Download the tool using `pip`.
See for more details.
pro
contra
Very small (few MB)
You need to install all packages by yourself
Boots very fast
For advanced users
pro
contra
Many packages preinstalled
Large (up to few GB)
Community support
Bloated
Easy for beginners (except Arch)