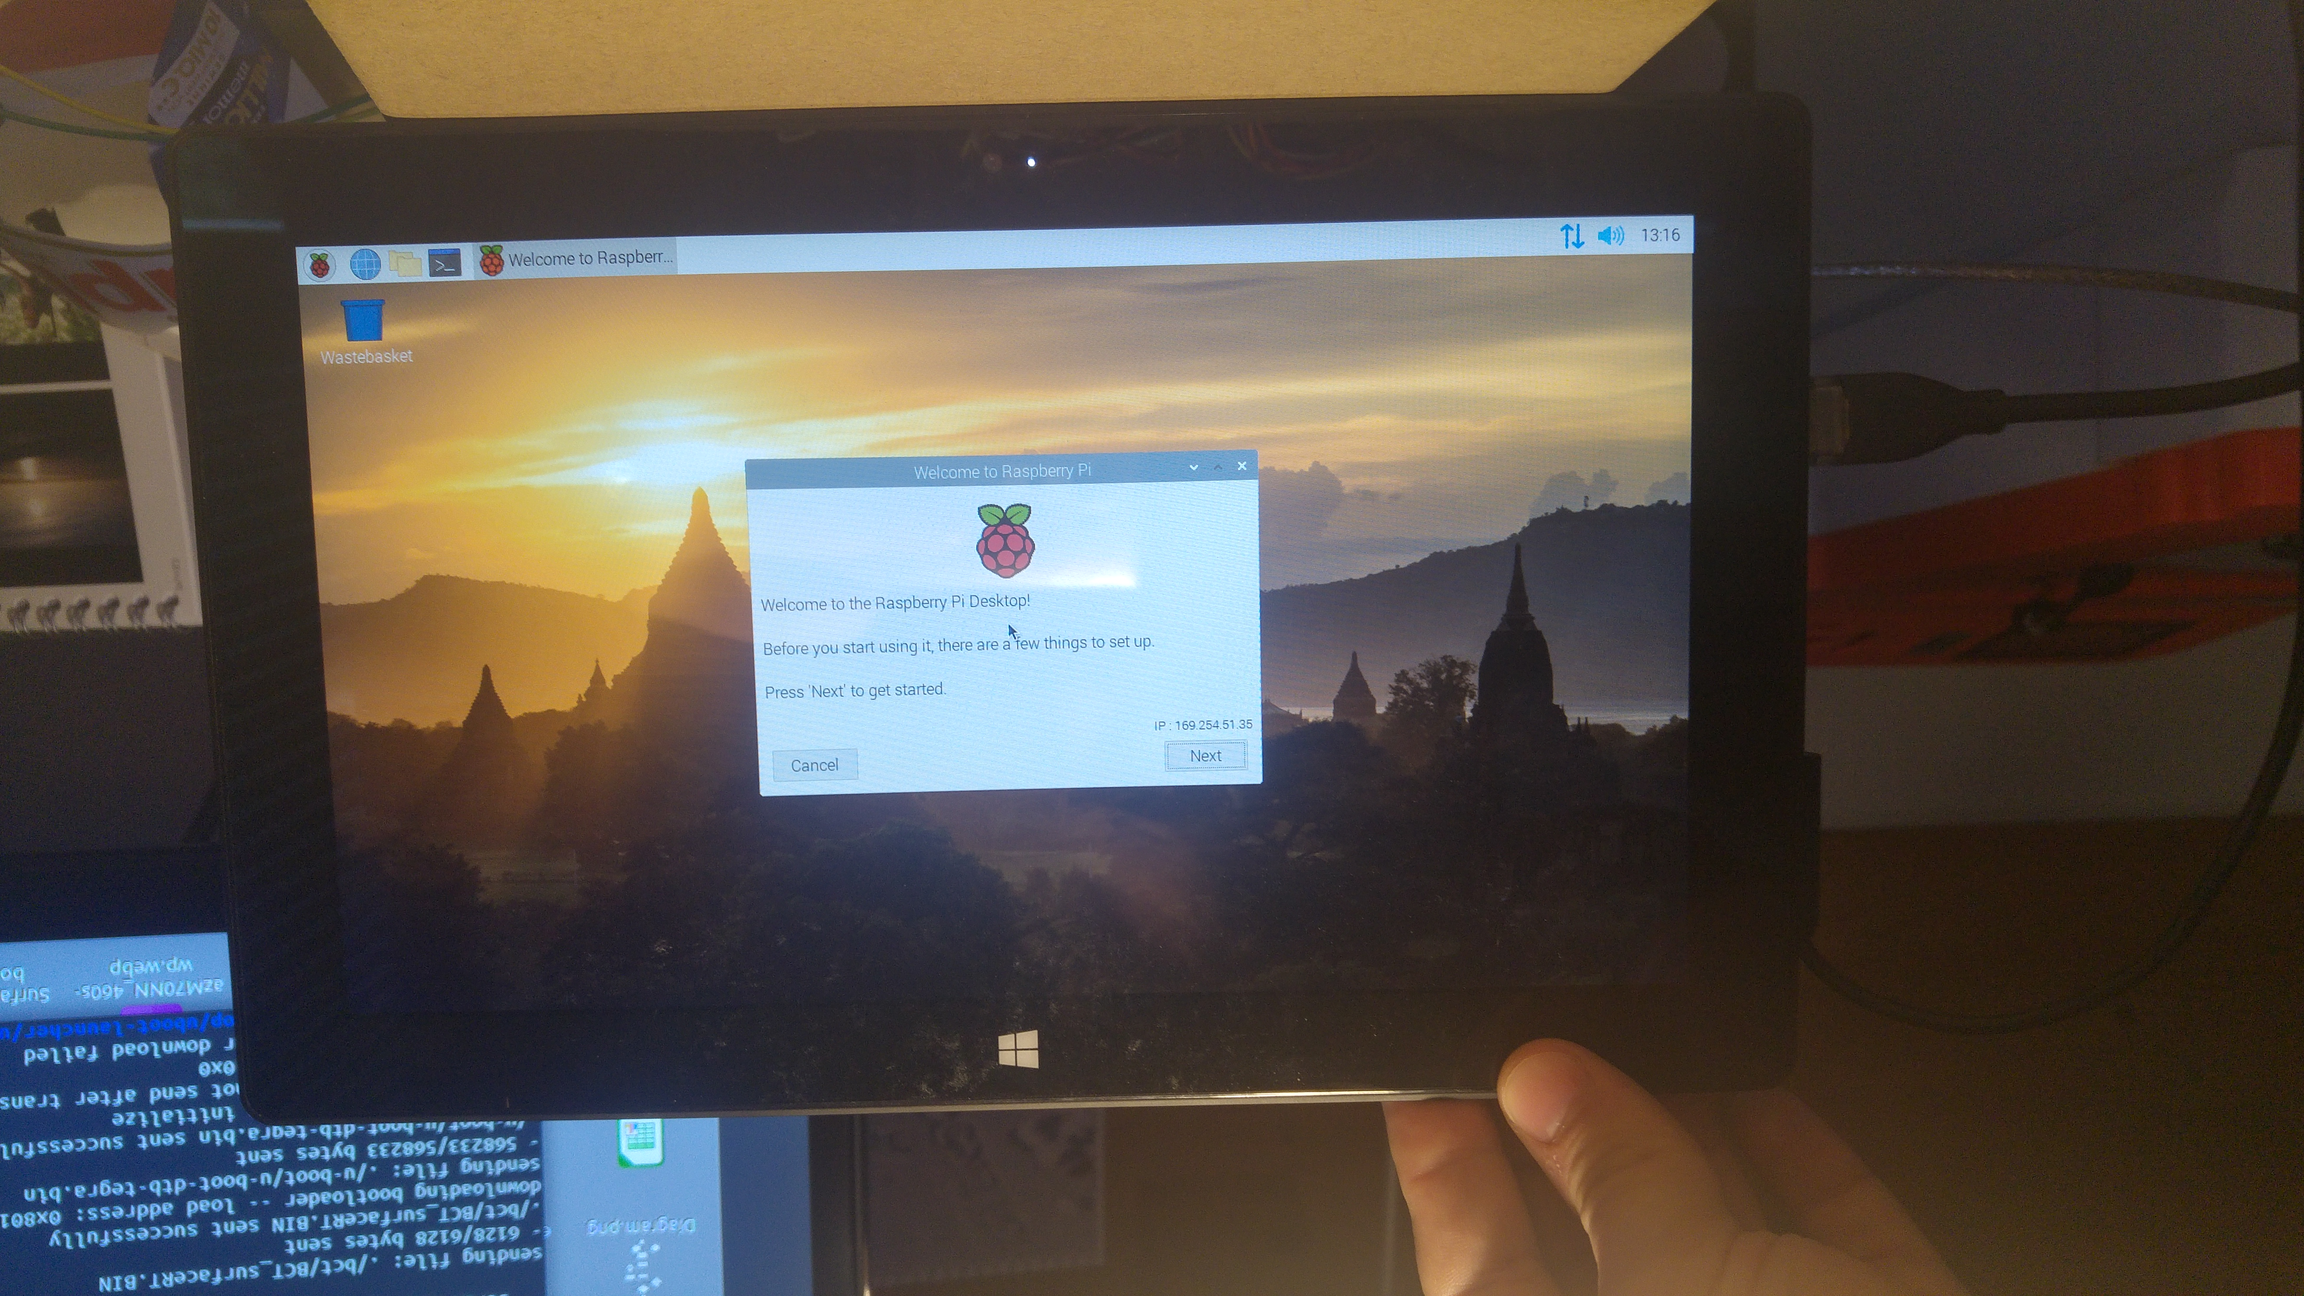
Raspberry Pi OS
Install Raspberry Pi OS on your Surface RT
Make sure that Secure boot is disabled before you try to boot Linux.
Use this guide
Install Raspberry Pi OS
Installing Raspberry Pi OS is very easy in comparison to some other distros.
It can be done on a Windows or Linux host and therefore is easily accessible for everyone.
Install on SD/USB for UEFI
Grab all the "standard files" from - (usb-linux-boot.zip, zImage, tegra30-microsoft-surface-rt-efi.dtb).
Use Raspberry Pi OS Imager (
sudo apt install rpi-imager) to image a USB drive as you normally would.Place the
efi folder,startup.nsh,zImage, andtegra30-microsoft-surface-rt-efi.dtbfiles onto the "boot"/fat32 partition of the USB drive. Confirming any overwrites.Edit the
startup.nshfile on the USB drive to show as below. For further information about kernel params can be found hereDownload the modules and firmware - kernel modules - and place them in the root directory
/. This is important. Without modules some features like Wifand i or CPU Temperature Sensor won't work.If you are using Linux you can do this before booting RaspiOS for the first time on your host machine.
If you are using Windows you need to boot RaspiOS on Surface RT and copy the modules on from e.g another Fat32 USB to the root filesystem. You need to reboot once to load the modules correctly.
Insert the USB Drive into the Surface RT and Boot to the USB.
Install on eMMC for UEFI
You need to install RaspiOS on USB first
It is only recommended to install it on eMMC if you really want to use it on eMMC. Otherwise you will wear out your eMMC unnecessarily.
Taken from Discord user Misterobots:
Once Raspberry Pi OS has booted from USB.
Go to
Start menu->Accessories->SD Card Copier.Select the USB drive as the "From".
Select the eMMC (mine was MBG4GA) as the "To".
Check the box that says "New Partition UUIDs". Click Start
Edit the
startup.nsh(on the eMMC boot partition, that was just copied to) and change theroot=/dev/sda2toroot=/dev/mmcblk0p2. Then save.Once the Copy has finished (with no errors), shutdown the Surface RT, remove the USB drive, then power on the Surface RT normally. (do not hold Vol. down)
This should get you booted from eMMC with both boot and rootfs on the eMMC.
TODO after booting/installing
If you want to install Raspi OS on eMMC do the steps below after booting from eMMC.
There is only one thing to do after you can see the desktop.
Open the Terminal and enter sudo raspi-config
Choose Advanced Options
Choose Expand Filesystem
Now your SD Card / eMMC is writable and can use all of its space.
Battery Level in Panel
The default plugin always shows 0% charge left. Use the "Battery Monitor" plugin instead. It should be already installed
Brightness Control
Unlike KDE, GNOME, MATE or XFCE, Raspberry Pi OS running LXDE does not seem to have any plugin to control the brightness. However, it is supported in the kernel level.
Download the rpi-backlight tool using `pip`.
Create the following udev rule so that this tool can be run without `sudo`.
Reboot.
Now you can run the software with rpi-backlight-gui. You can also create a desktop shortcut. Create the file `~/.local/share/applications/rpi-backlight.desktop` with the following contents.
See https://rpi-backlight.readthedocs.io/en/latest/usage.html#adding-a-shortcut-to-the-lxde-panel for more details.
Last updated

